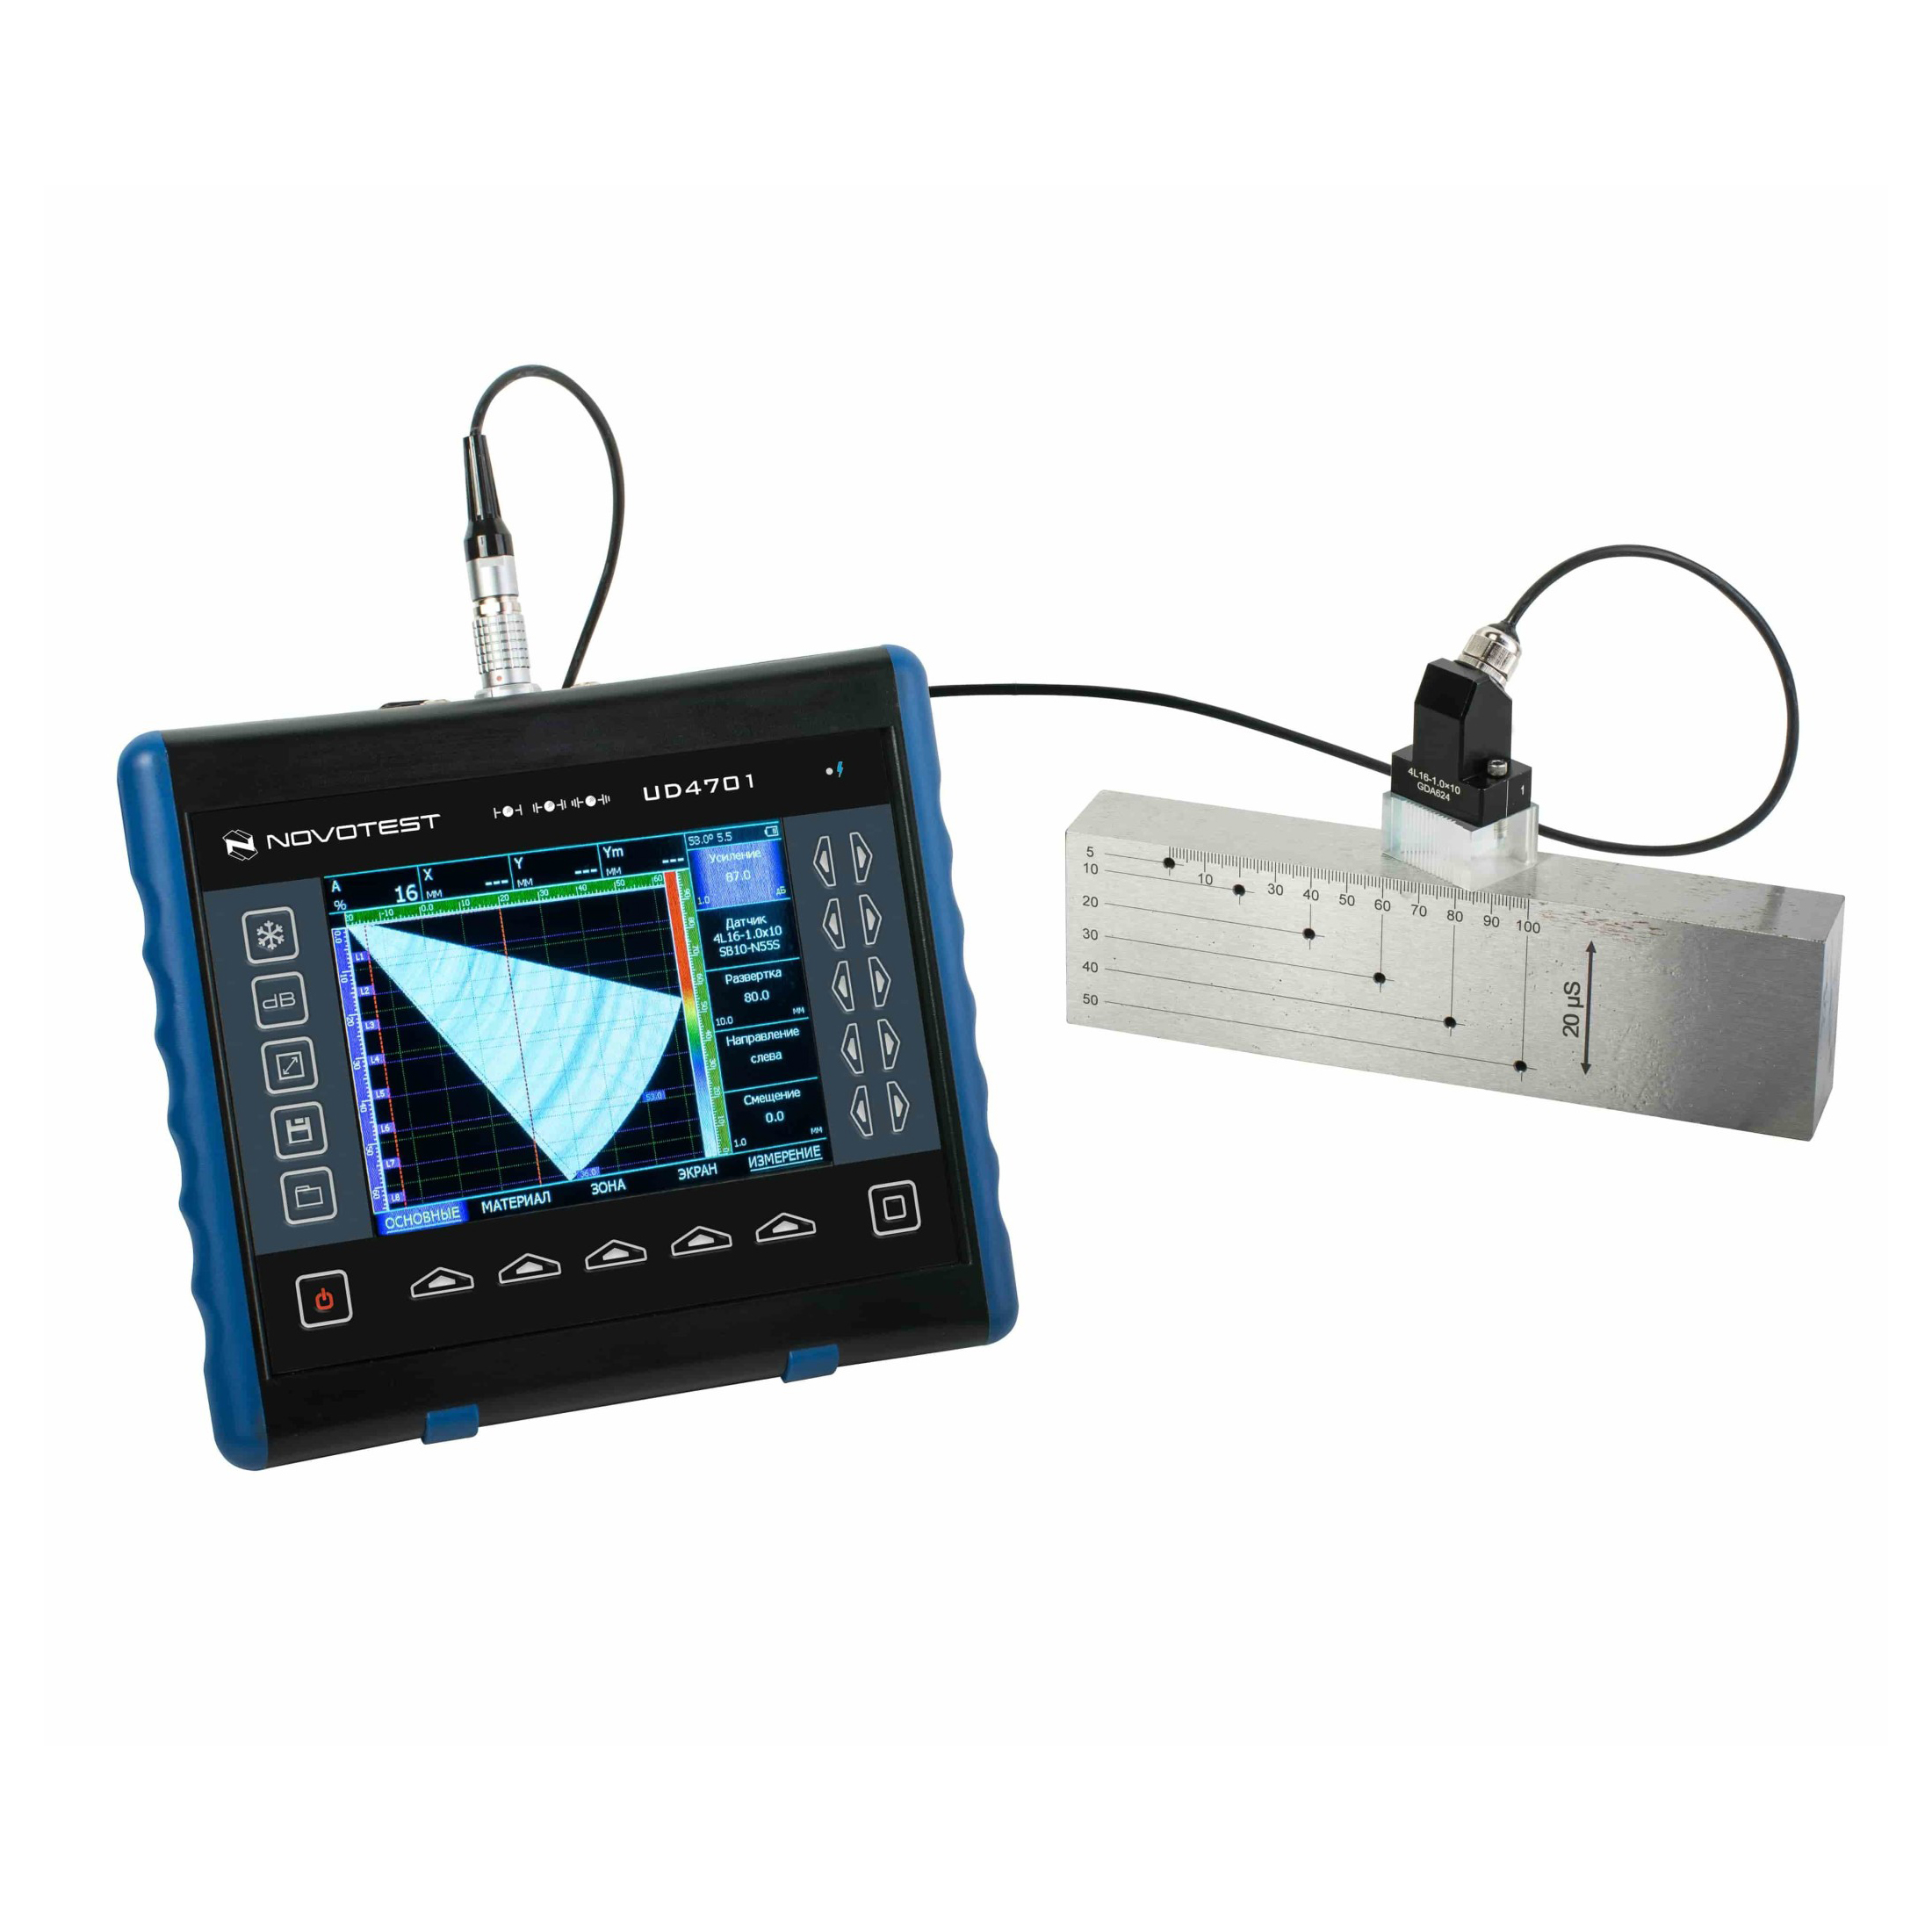
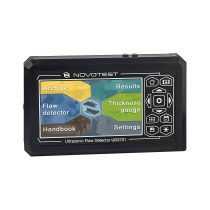
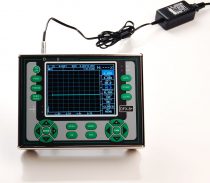
Thiết bị kiểm tra khuyết tật bằng siêu âm NOVOTEST UD4701PA
Portable ultrasonic flaw detector NOVOTEST UD4701PA – device for detecting defects in finished products, semi-finished products and welded joints, as well as determining their coordinates and using DAC and DGS functios. Equipped with a contrast color TFT display (resolution of 640×480), reliable enclosure, the device is always ready for operation, both in the laboratory and in locations with aggressive environmental influences such as temperature, dirt and precipitation.
In addition to traditional functions, the flaw detector has an input of a 2-axis encoder, which allows user to connect various scanners to build C-, B- and other scans and TOFD scan of the tested part of the product.
Use the device may not even highly be qualified specialists, since adjustment and calibration takes less than 5 minutes, and pre-defined functions allow for quick inspection and ensure the quality of the results.
| Weight | 1.4 kg with batteries |
| Size (H x W x L) | 200 mm x 225 mm x 80 mm |
| Operating temperature range | From -30 C to +55 C |
| Supply voltage | 15V / 2,5А DC |
| External power supply | Power Supply 220В AC |
| Working hours | not less 10 hours of operation from the built-in battery |
| Battery | Li-ion 10.8V, 5000 mА/h |
| Transducer connectors | 2 Х Lemo00,1 Х Lemo 16 |
| Firmware Upgrade | Self-powered by USB |
| Menu Language | Russian, English |
| Interface | USB |
| Memory | 200 settings with A-signal |
| 1000 monitoring protocols and scan results | |
| Display | Color high contrast, TFT 640 x 480 pixels, (130 x 100 mm). |
| Changing the color schemes of the screen for viewing and lighting conditions | Yes |
| Processing the image on the screen after “freezing” the screen | Full-featured processing and analysis |
| Support for the weld inspection standard AWS D1.1 | Yes, with automatic calculation D1.1 Ratio |
| Comparison with the saved reference signal | Automatic in the entire amplification range |
| Estimation of the size of defects in the classical flaw detector mode | built-in ADD diagrams |
| Amplitude measurement | In percentage of the height of the screen, |
| In dB relative to the threshold level in the zone, | |
| In dB relative to the reference signal, | |
| By DAC | |
| Automatic Defect Alarm | Light, sound |
| Simultaneous display of signals on the screen in the PR mode in manual mode | S-scan |
| А-scan + S-scan, | |
| А-scan + B-scan, | |
| S-scan + B-scan, | |
| А-scan + S-scan + B-scan | |
| Determination of linear dimensions between reflectors in S-scan | By two markers, set manually or automatically |
| Calculation of the coordinates of the reflectors on the S-scan | Automatically in the entire range of S-scan, using a mathematical model of the prism in the memory of the flaw detector, the accuracy of determining the coordinates to 0.1mm |
| Algorithm for finding a defect in the testeing zone | Automatically on the maximum amplitude of the signal in the zone, auto at the maximum amplitude of the signal on the selected beam, manually |
| Control zones | Rectangular zone for allocation of a part of a signal on an S-scan with an accuracy of setting boundaries to 0.1mm |
| 2 independent time-domain zones | |
| Display of signals on the screen (visualization) | А-scan, B-scan, С-scan, D-scan, S-scan, L-scan, TOFD |
| Digital signal filtering | Yes |
| Analog Signal Filtering | Yes |
| Additional key + dB | 6 |
| Electrical damping of the converter to increase the resolution | 25 Ω, 50 Ω, 600 Ω |
| Gain Control Range | 100 dB, in step 0.5, 1, 2, 6 dB |
| Amplifier | Broadband: 0.1-20 MHz, with the option of narrowband filters |
| B-Scan | Display of real weld geometry (True-to-geometry imaging) |
| Using TOFD | Single-channel TOFD with recording by the path of probe or time |
| Using scanners | Any 2-axis scanners with optical encoders, scans in the memory of the device, analysis of scans in the device, and in a special analysis software |
| Welded joint geometry designer | Built-in helper, displaying the cutting of the seam on the scan image |
| Automatic calibration of ultrasonic velocity | Yes |
| Automatic calibration of the control range for a given seam thickness | Yes |
| Frequency of recurrences | Is automatically set depending on the set parameters |
| Sounding impulse | Radio pulse amplitude of 50 V, with adjustable number of periods (0.5-5) |
| Speed range | 100 – 10 000 m/s |
| Scanning mode | S-scan (sector scan), L-scan (linear scan with a constant angle) |
| Scan | Min.: 0 – 5 mm |
| Max.: 0 – 3200 mm (depends on the operating modes and the converter) | |
| In step 0.1, 1, 5, 10 mm | |
| Automatic calibration of the delay in the prism | With V-2 calibration block from reflector, calibration of TOFD converters |
| Leveling of sensitive in depth | TVG, up to 10 dB / μs, with an accuracy of 0.01 dB / μs |
| Aligning the sensitivity at the corners while scanning | 2D correction (10 lines in depth, 20 points for corner correction each) |
| Adjusting the angle scan angle | From 0,3 to 2 degrees |
| Adjustment of working aperture | 4, 8 and 16 simultaneously working elements |
| Adjustment of the FR parameters of the converter | Automatic from non-volatile memory of the device |
| Algorithm for signal processing | Digital signal focusing using the C-SAFT / TFM method |
| Type of PHAs used | Any classic 16-channel PA |
| Gross weight, not more than | 8 kg |
Standard package
- Ultrasonic flaw detector UD4701PA
- PA 16 channel probe – 1 pcs
- UT-probe – 2 pcs
- Calibration block SO-2
- Cables Lemo-Lemo
- Power supply
- Charger
- Memory card
- Operating manual
- Case


